User posts Will Welker
23 July 2017 05:25
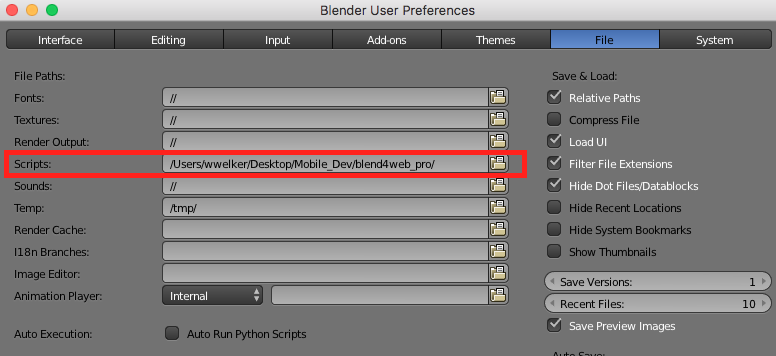
Check your User Preferences Scripts.
![]()
Not sure which versions it changed, but you used to have a different file path: blen4web_SDK\blender_scripts.
Here is an old video I did that may help.
Also while you are changing addons, you should uncheck that Blend4Web add-on in the User Preferences Add-ons panel, then reactivate it when you get the new SDK in place. And be aware that if you use the Remove button in the Add-on panel, it will delete the related files in your Blend4Web SDK directory and you will need to replace your SDK.
23 July 2017 04:16
If you go to the Download Page and scroll down, you will find a list of previous Blend4Web versions with the corresponding recommended versions of Blender.
23 July 2017 03:01
Or instead of logo, one should be able to insert a free textIn the example you linked, the text is most likely converted to an image texture before being applied to the 3D mesh.
Have a look at this YouTube video to get the basics of how UV mapping works in Blender.
Generally, you want your images to be power-of-two like 512 X 512. This plays nicely with WebGL rendering (the B4W engine will automatically adjust your image if it is not POT).
Once you get the hang of applying image textures to your 3D model, the link provided by Blend4Life above will show you how to swap them out for other images.
23 July 2017 02:44
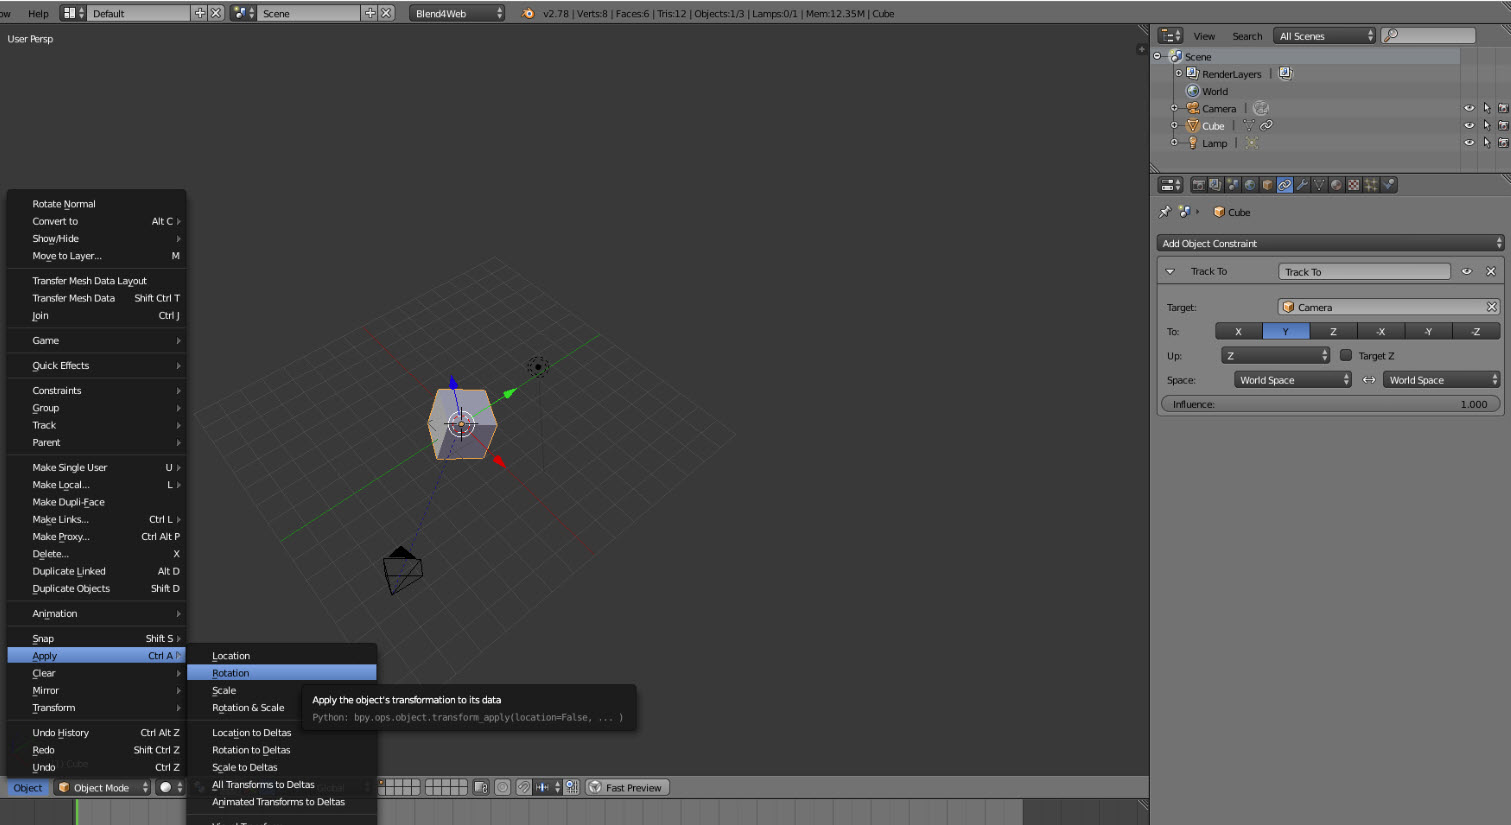
Setting up in Blender works. Don't forget to Apply Rotation to your object before setting up the constraint.
![]()
Working example .blend file attached.
Working example .blend file attached.
22 July 2017 12:43
Tried loading this link with Chrome on S7 Edge.
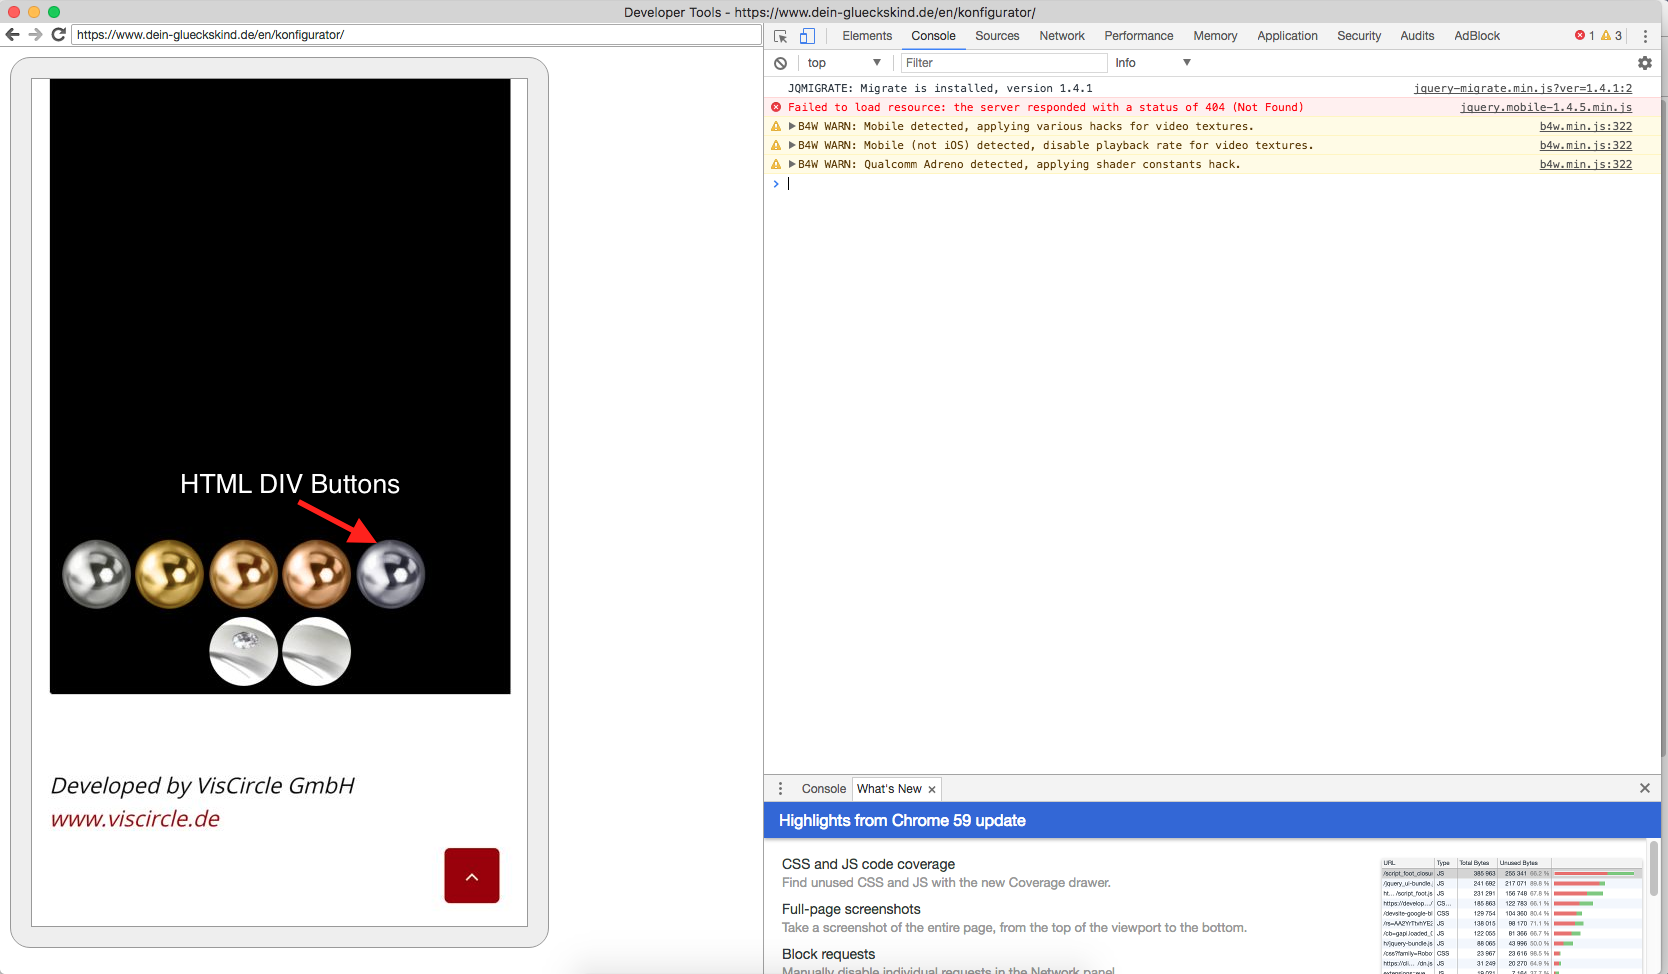
I updated Chrome on the App Store to be sure I had the latest. The scene still failed to load, or if it did load, nothing showed up. I see a jQuery plugin failed to load. Here is the debug info:
![]()
(The round buttons are DIV elements, not part of the 3D scene.)
Hope this helps.
I should add that I have never had trouble with any other Blend4Web apps on this phone. I wonder if you have tried loading the app separate from the page it is embedded in to rule out some code conflict.
I updated Chrome on the App Store to be sure I had the latest. The scene still failed to load, or if it did load, nothing showed up. I see a jQuery plugin failed to load. Here is the debug info:
(The round buttons are DIV elements, not part of the 3D scene.)
Hope this helps.
I should add that I have never had trouble with any other Blend4Web apps on this phone. I wonder if you have tried loading the app separate from the page it is embedded in to rule out some code conflict.
21 July 2017 08:27
Here is a little trick you could try. Use a Copy Location constraint with the X, Y, and Z inverted.
![]()
Select your environment sphere, open the Constraints panel and select Copy Location. Then in the target object field, select your camera. In Target Mode, as your camera zooms to the center position, you sphere will reciprocate and come to the camera. You will need to tinker with the camera distance limits and the size of the sphere to prevent the camera from ending up outside of it. If Backface Culling is selected, you won't see the outside of the sphere if the camera gets out.
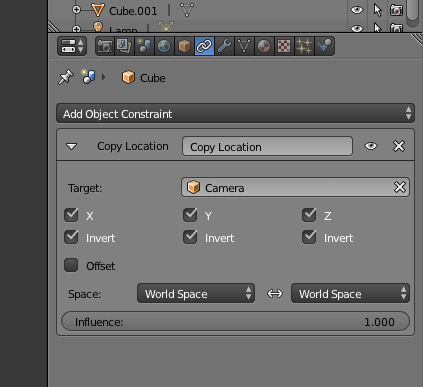
Select your environment sphere, open the Constraints panel and select Copy Location. Then in the target object field, select your camera. In Target Mode, as your camera zooms to the center position, you sphere will reciprocate and come to the camera. You will need to tinker with the camera distance limits and the size of the sphere to prevent the camera from ending up outside of it. If Backface Culling is selected, you won't see the outside of the sphere if the camera gets out.
21 July 2017 07:49
The Eye mode has no zoom. In a 3D scene, "zoom" means the camera actually moves forward and back. In a 2D scene "zoom" means the picture gets bigger.
You could try expanding your sphere so when the camera moves around, it won't bump in to the sphere. I do something similar to this on my home page.
You could try expanding your sphere so when the camera moves around, it won't bump in to the sphere. I do something similar to this on my home page.
21 July 2017 04:07
the 'unload function' is unloading the entire sceneIn the Cartoon Interior project, each object is exported from Blender as a separate JSON file. It then gets loaded and unloaded. Are you trying to unload an object that is part of the main scene? If you want to unload an object all by its self, you will need to first load it all by its self. If you unload an object that is part of the main scene, you will unload the whole scene. Basically you are loading and unloading the JSON file.
21 July 2017 02:42
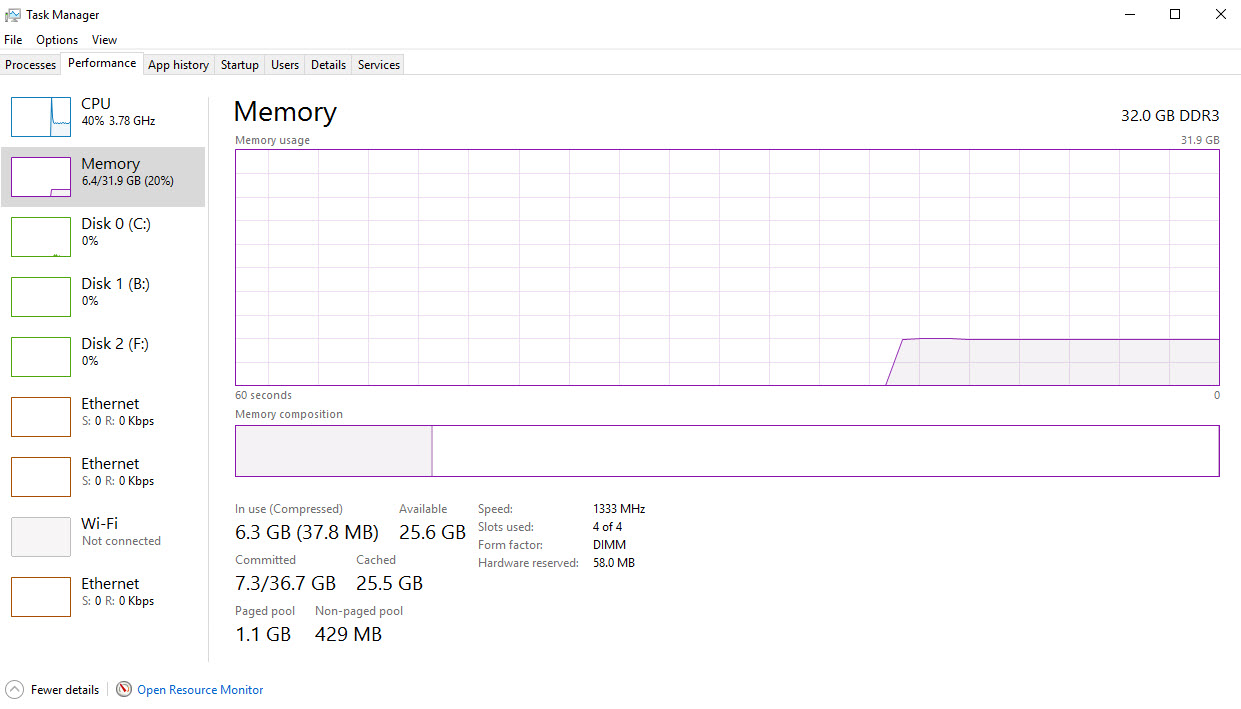
Your Task Manager can show you how much memory is being used.
![]()
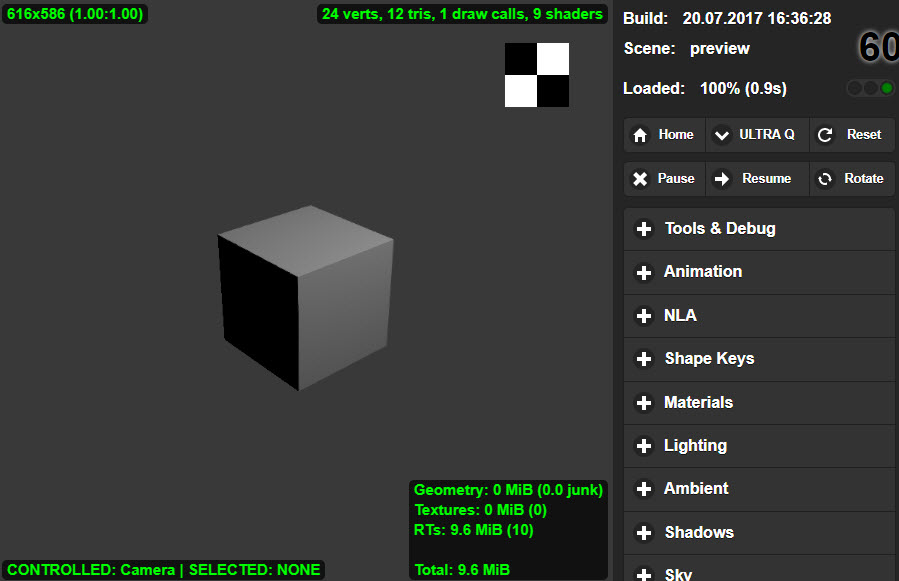
Also, your Scene Viewer can give you information that might help you confirm you are running out of memory.
![]()
2 MB is not much these days, your project might run well on many PCs.
Another option is to look at the Cartoon Interior project in your SDK. That project loads and unloads objects.
Also, your Scene Viewer can give you information that might help you confirm you are running out of memory.
2 MB is not much these days, your project might run well on many PCs.
Another option is to look at the Cartoon Interior project in your SDK. That project loads and unloads objects.
document.getElementById("delete").addEventListener("click", function(e) {
    	console.log("What is  e = " + e);
        if (_selected_obj) {
            var id = m_scenes.get_object_data_id(_selected_obj);
            m_data.unload(id);
            _selected_obj = null;
        }
21 July 2017 02:32
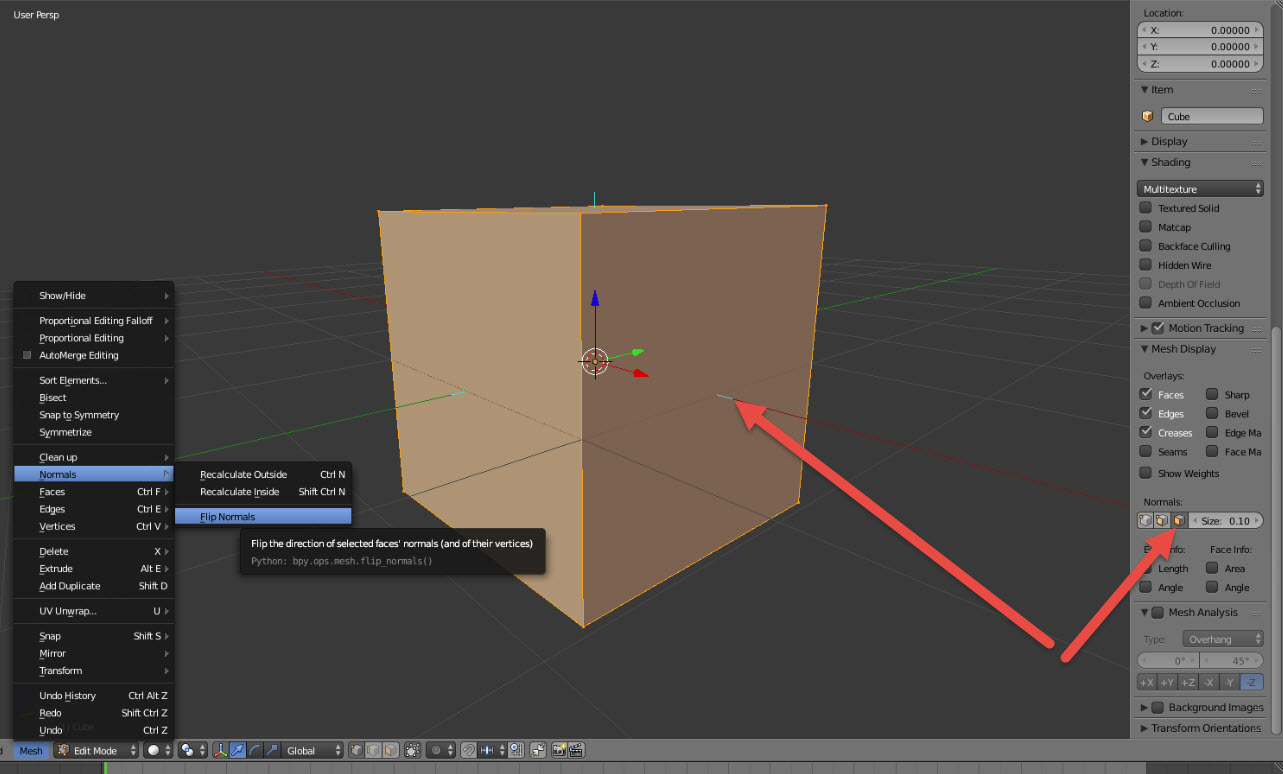
Juani's solution will work, it causes both sides of your normals to display. If you want to see what way your normals are facing, there is a setting in the side panel (N key) to show little lines for which direction your normal surfaces are facing. To flip them around, select your face in edit mode then Mesh > Normals > Flip Normals.
![]()
