Creating Blend4Web Materials. Complicated Materials
2018-01-23
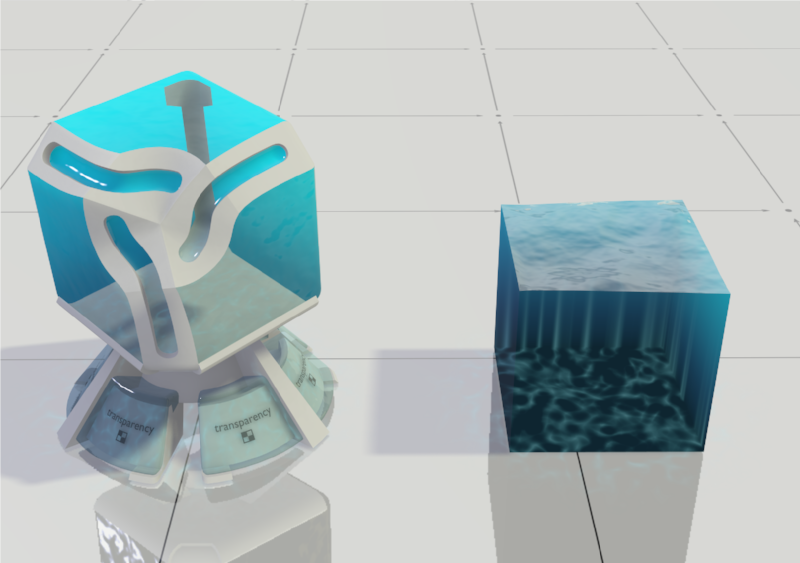
Water material from Blend4Web Material Library
When you design water for using with Cycles renderer, you can make a procedural Displacement map that applies waves of various shapes to the surface of the water by influencing its geometry. Unfortunately, something like this cannot be done in Blend4Web at the moment, so you have to either use built-in features such as dynamic water, or make custom geometry and shaders. Let’s start with examining water material.

Node structure of the core of the Water material
The water material is relatively simple and consists of two main groups of nodes. The first one includes two normal maps (1) that add small ripples to the surface. Animation is used to make the water look more lifelike. The second group contains a mask with Fresnel effect (2), created from moving normal maps. Reflection are produced using a cubemap (3) that is mixed with a Refraction node that handles transparency and distorts the images of any objects in the body of water.
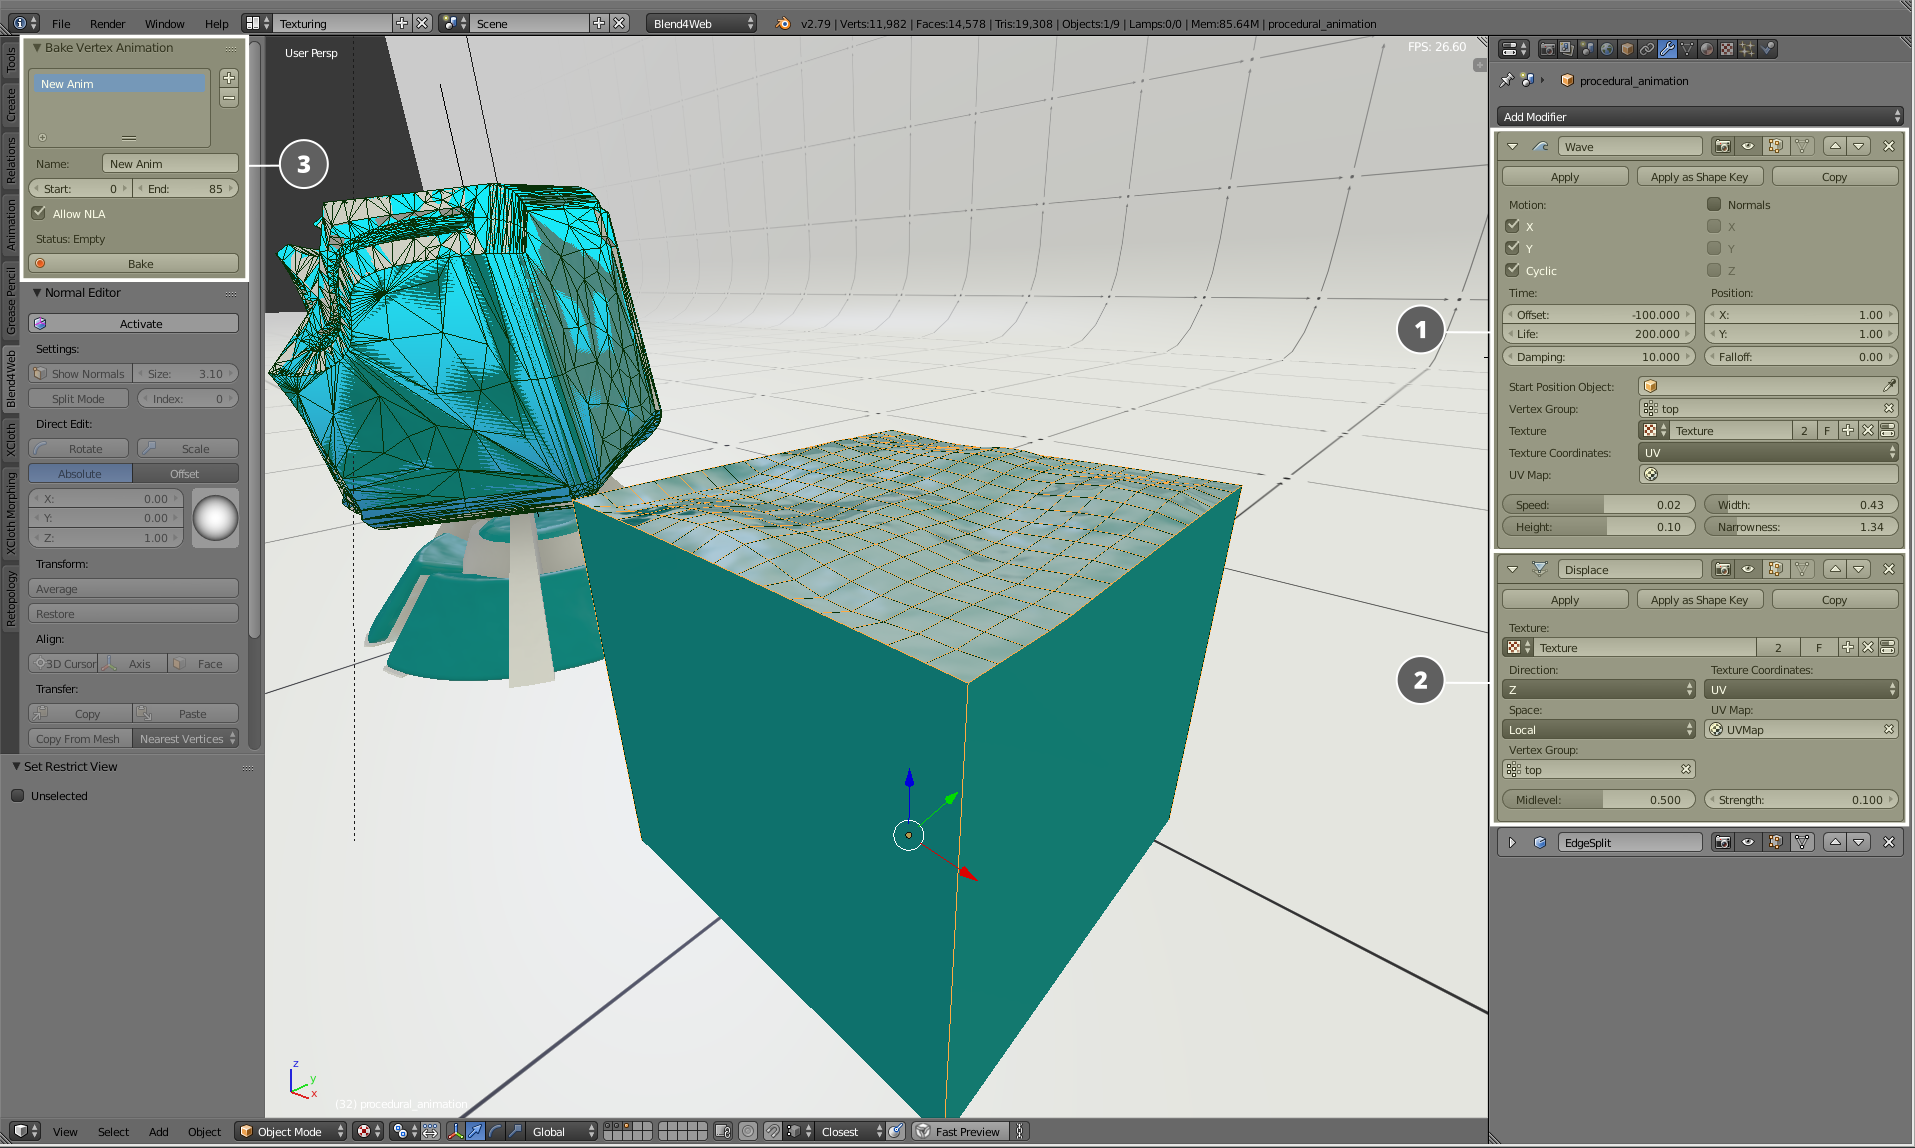
Settings for baking waves on the surface of the water
Bigger waves are implemented using vertex animation (Wave (1) and Displace (2) modifiers) baked using Blend4Web tools (3).
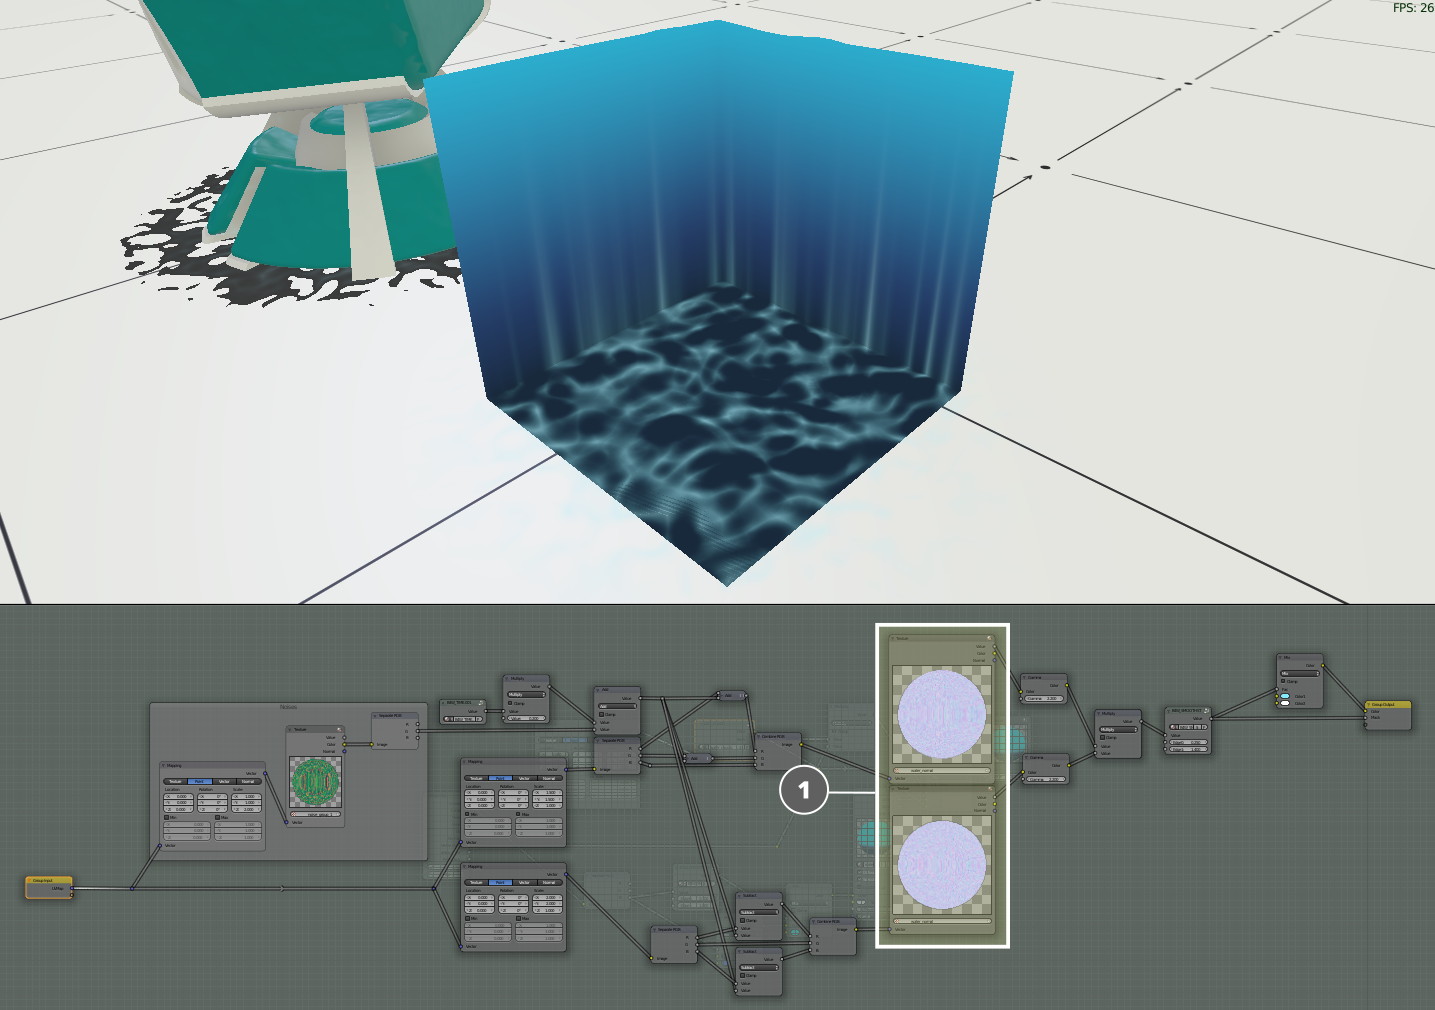
Depth and caustics imitation
This brings us to one clever trick that will help us to add depth and caustic effect to any scene that includes water material. What we have to do is create a copy of a cube with normals flipped inside, so we can observe its inner surface. The shader itself is colored with a vertical gradient of colors ranging from deep to light blue. The material also includes two animated textures for caustics (1); they help to create an illusion of sun beams and flares at the bottom.
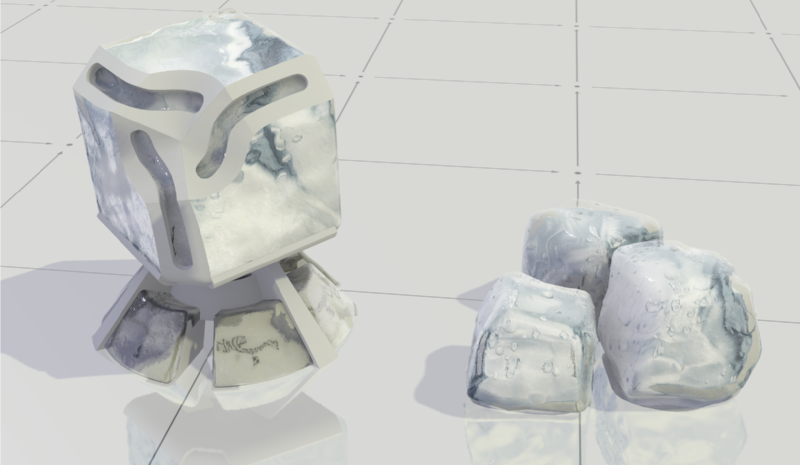
Ice material
The material for ice is done in the same way. Bubble objects with normals flipped inside are added to the geometry in order to create an illusion of multiple light refractions inside the ice.
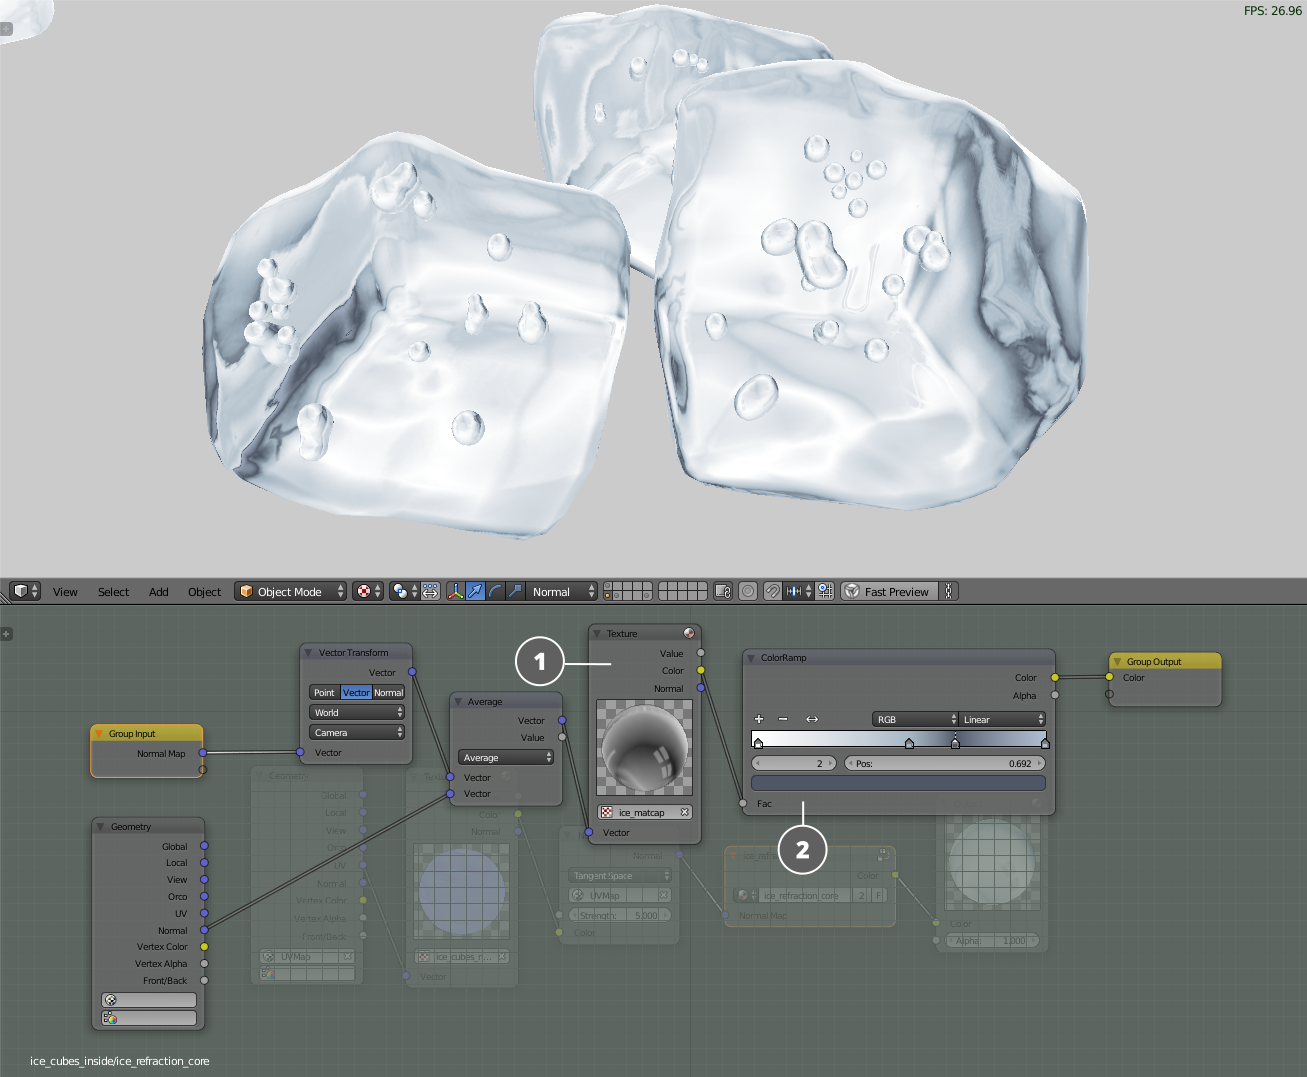
The inner geometry of the ice cubes with the material applied
The material itself isn’t very complicated. It consists of one Matcap texture (1) that is colored light blue and connected directly to the Output. This is how reflected light is recreated.
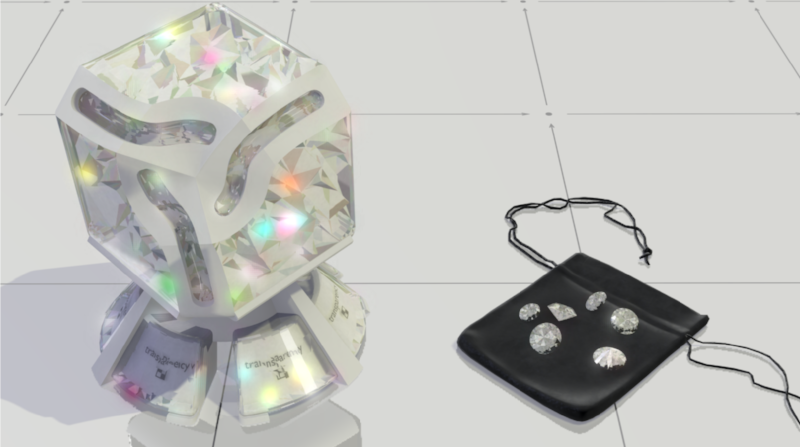
Gemstone material from Blend4Web material library
Gemstone material works in the same manner, only its node setup is a bit more complicated.
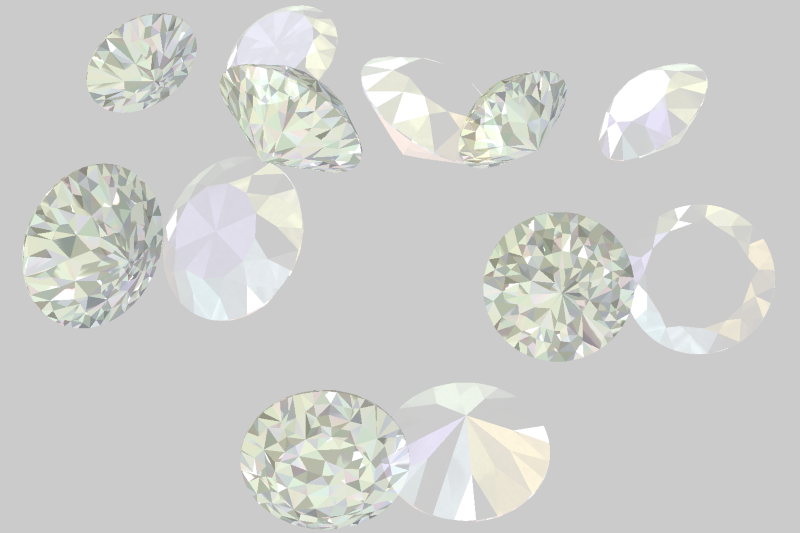
Gemstone geometry
The image above shows objects with two “layers” of geometry. The material applied to the surface includes Refraction node, so it distorts the image of the inner part. Let’s take a look at the structure of the material.
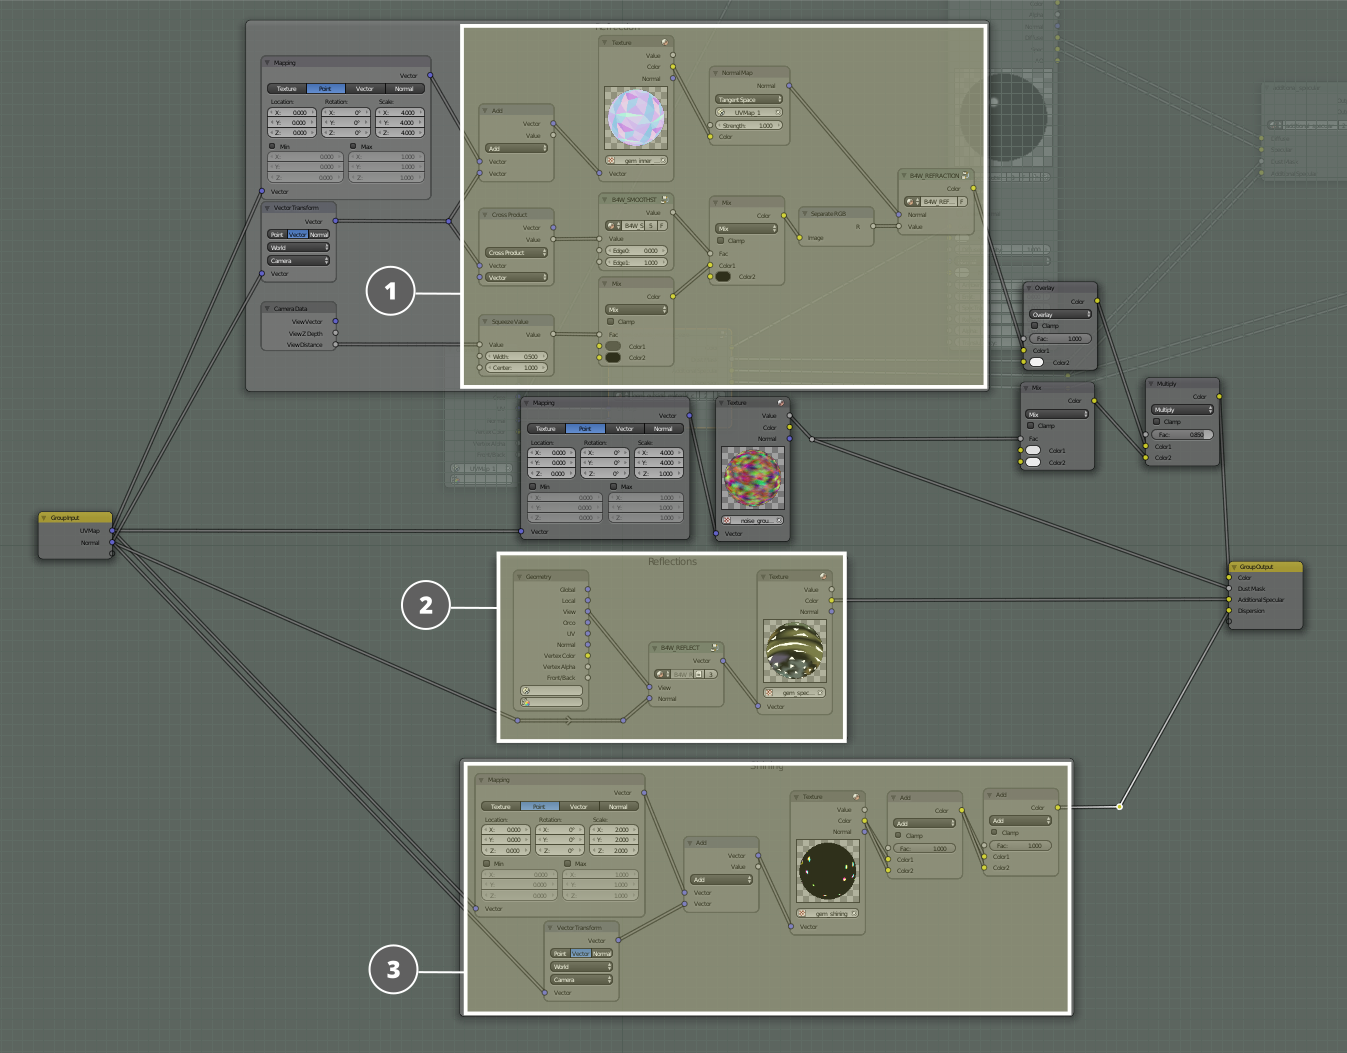
Material for surface geometry of a gemstone
1. The main part of the material is a Refraction node that is used to distort the inner surface of the gemstone, thus imitating multi-layered structure of a crystal. There is also a normal map with multiple facets. To add some depth to the material, this map is offset along normals using a Mapping node.
2. Cubemap for creating reflections on the glass surface.
3. Another cubemap to implement light dispersion effect. It is connected to a Glow node that produces bright sparkles.
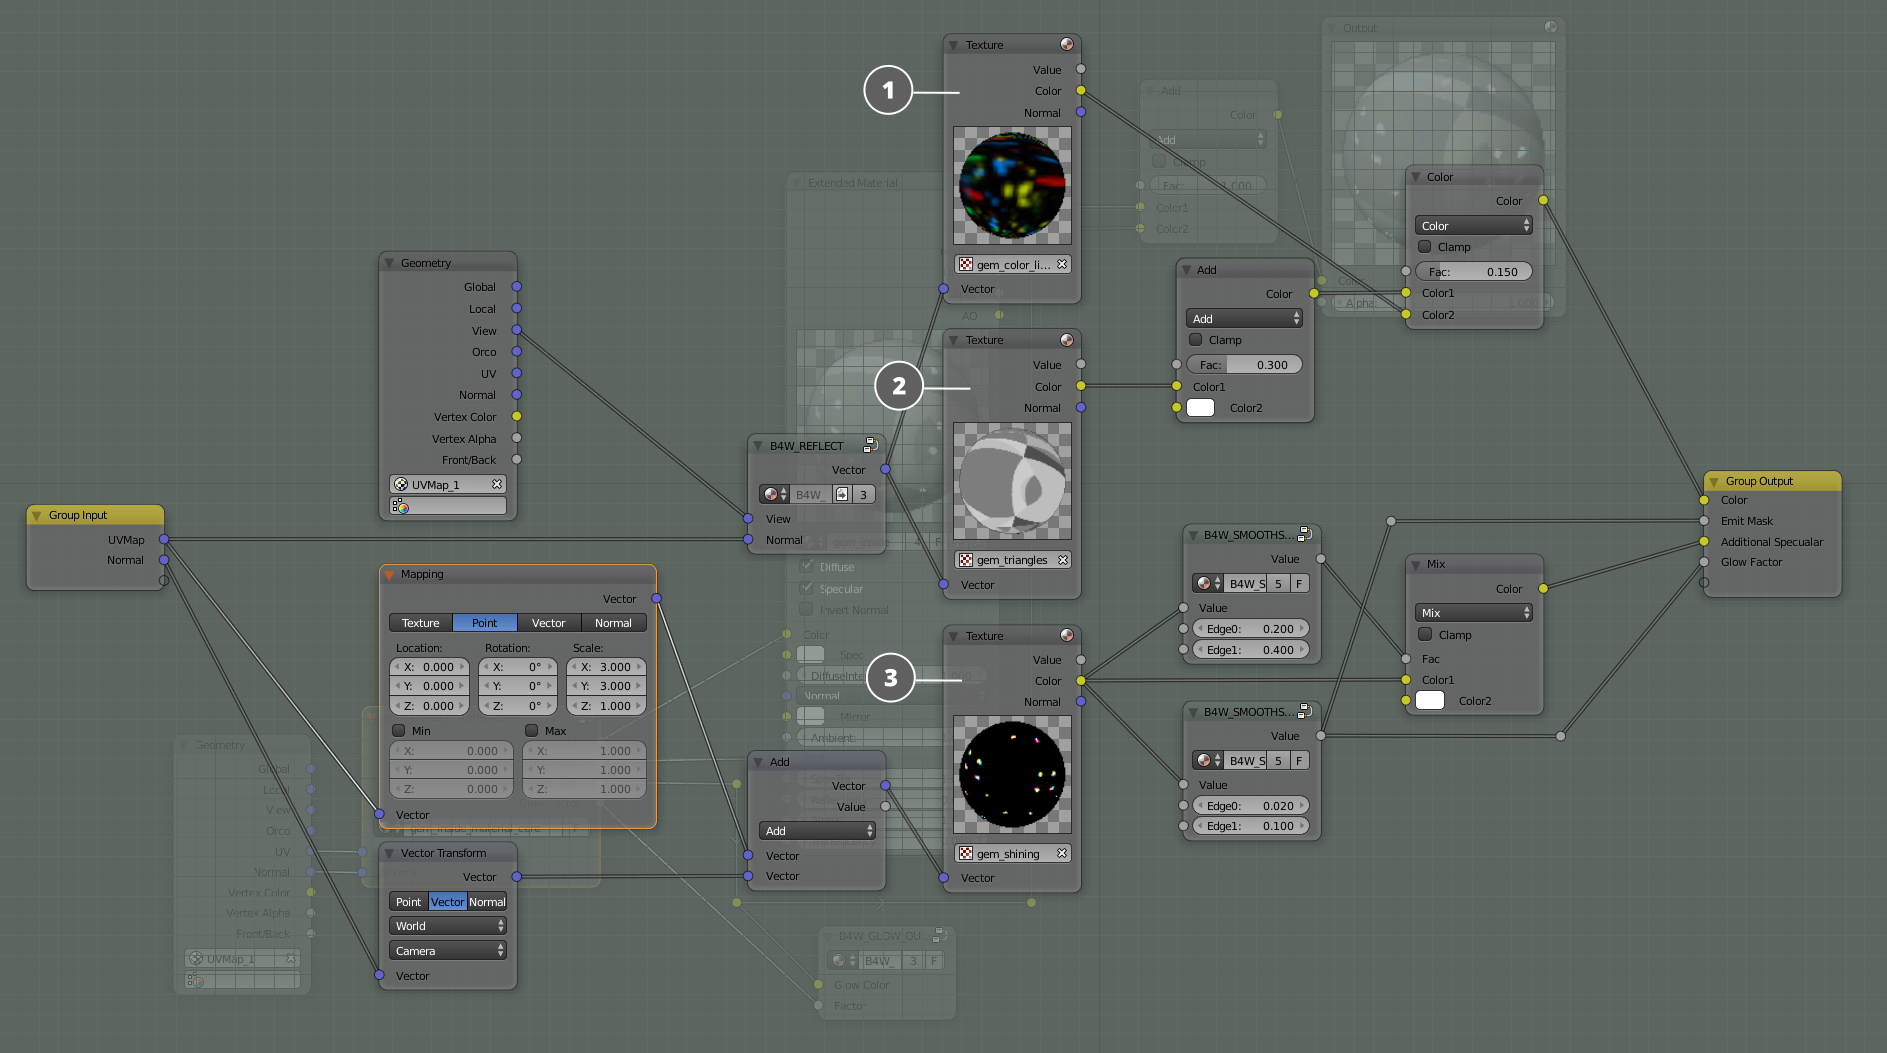
Material for the inner geometry of a gemstone
The structure of the material used for inner parts of a gemstone is similar to the one used for ice material. Its base is a black and white cubemap (2) colored using another cubemap (1) – this approach allows for producing a wide range of highlights. Dispersion effect is implemented using a texture with color spots, just as it is in the material for outer surface.
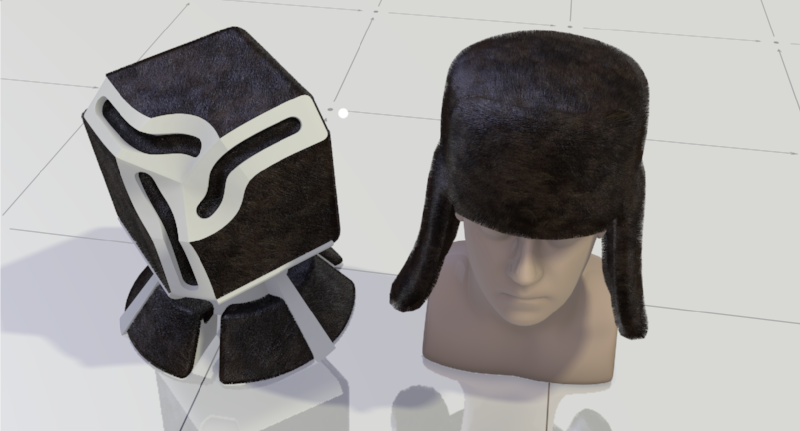
Fur Cap material from Blend4Web library
And finally, let’s examine the fur material.
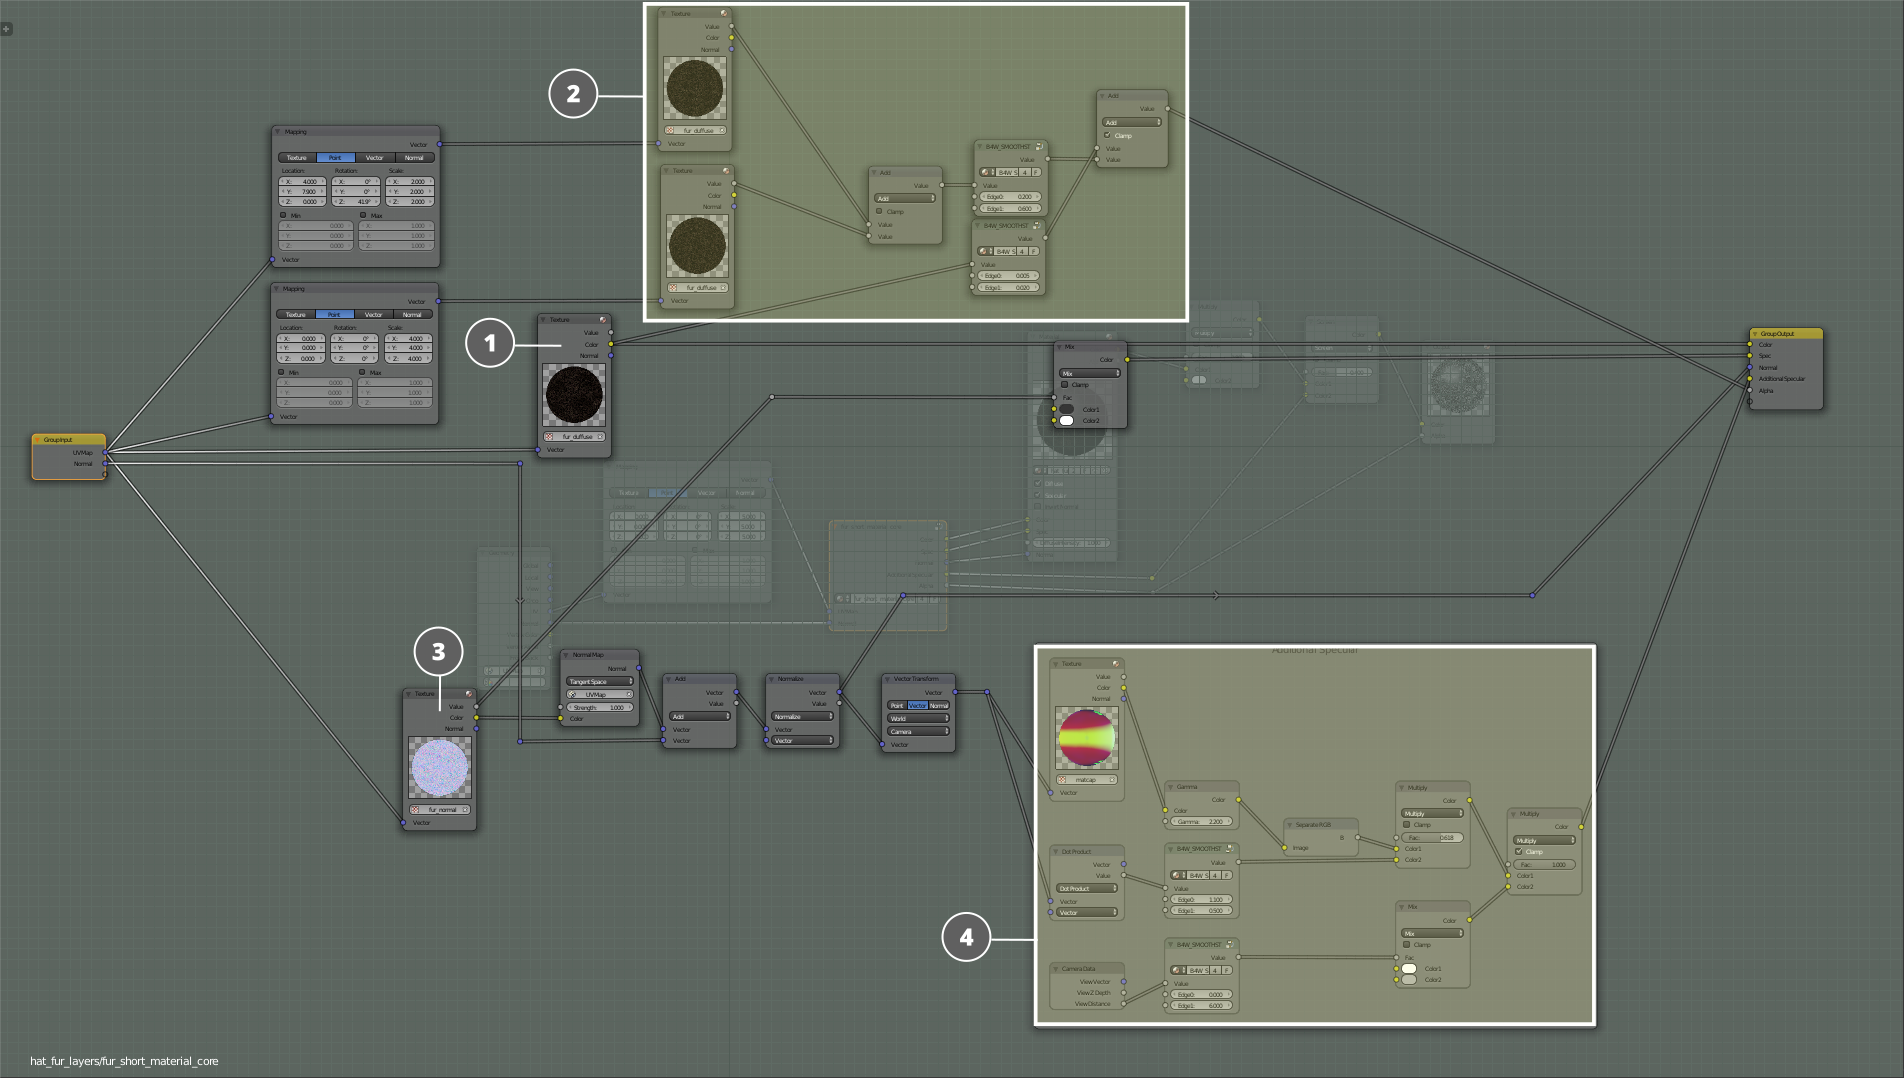
Node setup for fur
The core of the material contains a diffuse map (1) and a normal map (2). There is also an alpha map that consists of two textures mixed together with a little offset. Anisotropic highlights are added using a Matcap texture (4), with a SmoothStep node for adjusting roughness.
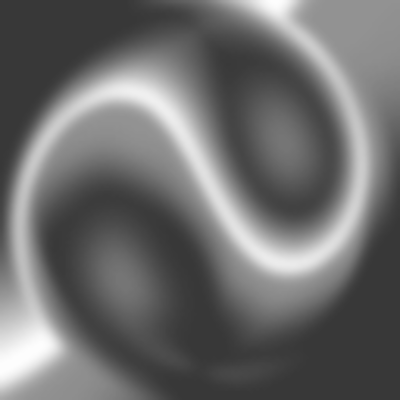
Using a Matcap texture to imitate anisotropic highlights
The main effect, however, is implemented not with a material, but with multi-layered geometry.
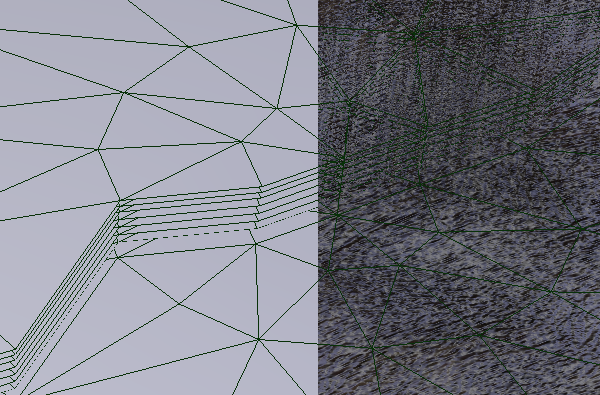
Layers of the cap geometry
If you cut the geometry of the cap in two or more pieces, you’ll see that it consists of several layers. The lowest of them is opaque, it acts as a background. Other layers produce a parallax-like effect, that looks a lot like real fur.
Closing Words
And this completes our examination of materials from our Library. We hope that little tricks you’ve learned will help you to make you own materials just as complex and attractive – or maybe even more so. Feel free to comment, share your thoughts and suggestions, and, of course, any ideas about expanding our Material Library.

