A setting that is suitable for your growth and freedom of cuphead io. All of your achievements are preserved even if you start.
Creating Blend4Web Materials. Playing With Reflections.
2017-12-05
This tutorial continues the series of articles on creating materials for Blend4Web projects. Last time, we learned about simple matte materials. Now, it is time to discuss the subject of reflections.
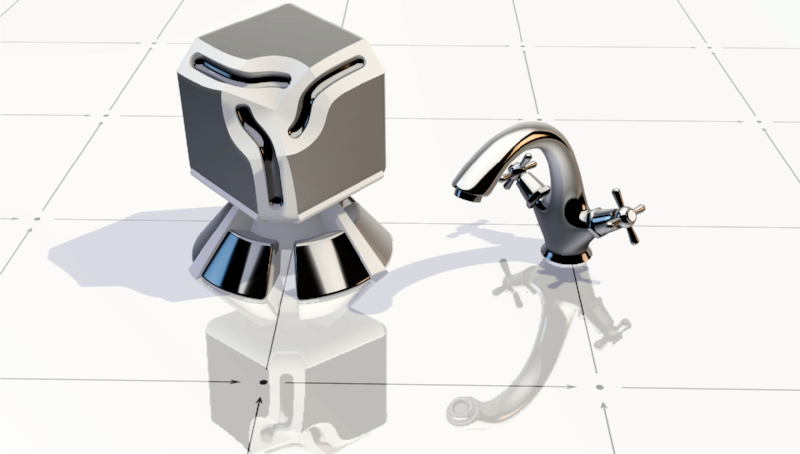
Chrome material from Blend4Web Material Library
The most simple example of a material like this would be a polished chrome steel, as it reflects its surrounding almost uniformly. First of all, however, we should take a look at methods of creating reflections that are used for materials in Blend4Web Material Library.
1. Real-time reflections. To use this feature, you only have to enable the Reflective option in the material settings. Keep in ming that, depending on the complexity of the scene and the number of reflected objects, using real-time reflection may significantly impact performance.
2. Cubemap reflections. Cubemaps are textures that contain baked reflection images. These images are not rendered in real-time, so in essence cubemap only imitates a real reflection. This approach is fast and convenient, but it does not take into account any changes in the environment.
Working with cubemaps is described in greater detail here.
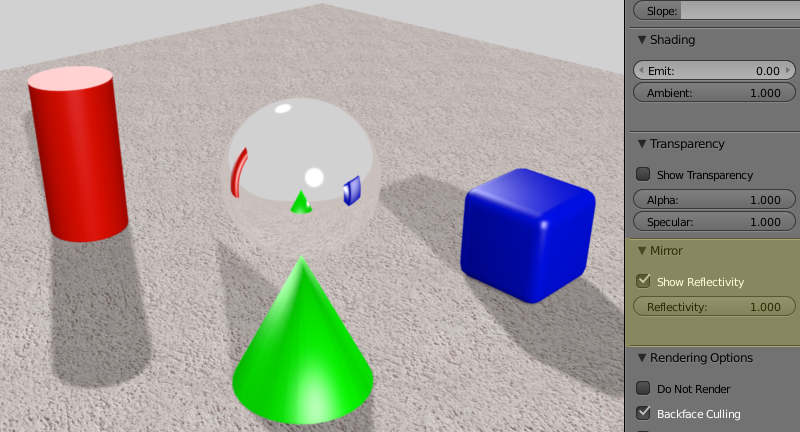
An example of an object reflecting its surroundings
The picture above shows an object that correctly reflects its surroundings and environment; reflection is updated in real time.
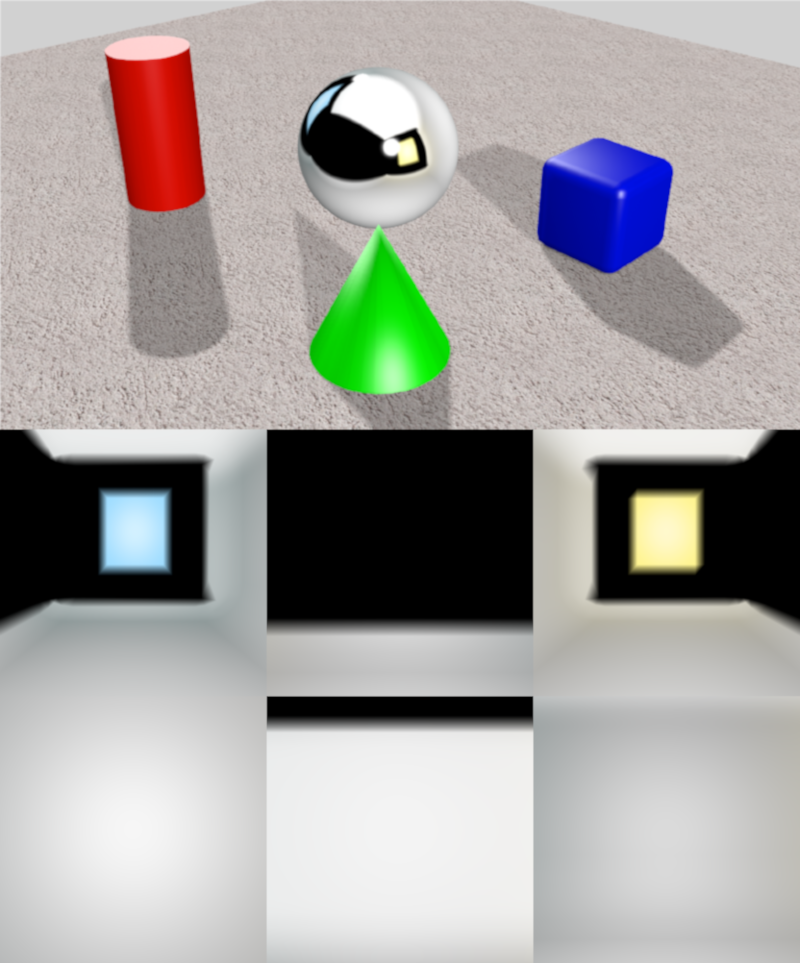
An example of using a cubemap
Cubemap reflections is an optimized and performance-friendly approach, and they also can be used to produce artistically impressive effects that do not depend on the environment and lighting conditions.
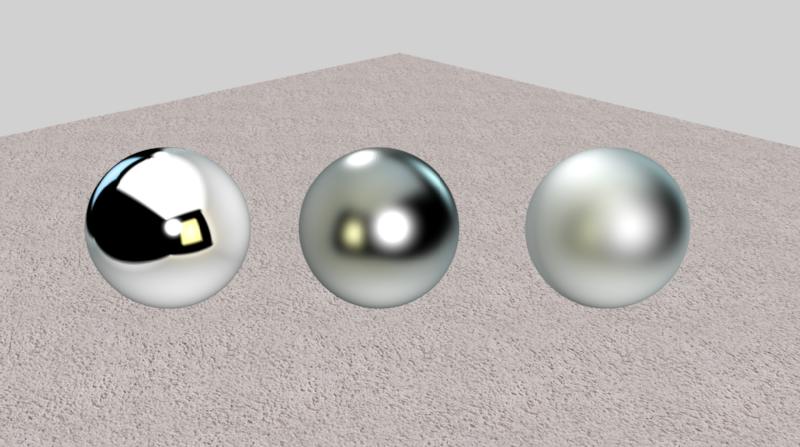
Cubemaps with various degrees of blur
To imitate the Roughness parameter used in PBR material model, you can “blur” your cubemap using any image manipulation software (GIMP, Photoshop or any other). The sphere at the left looks like its Roughness is set to zero, while the one at the right should have it close to 1.
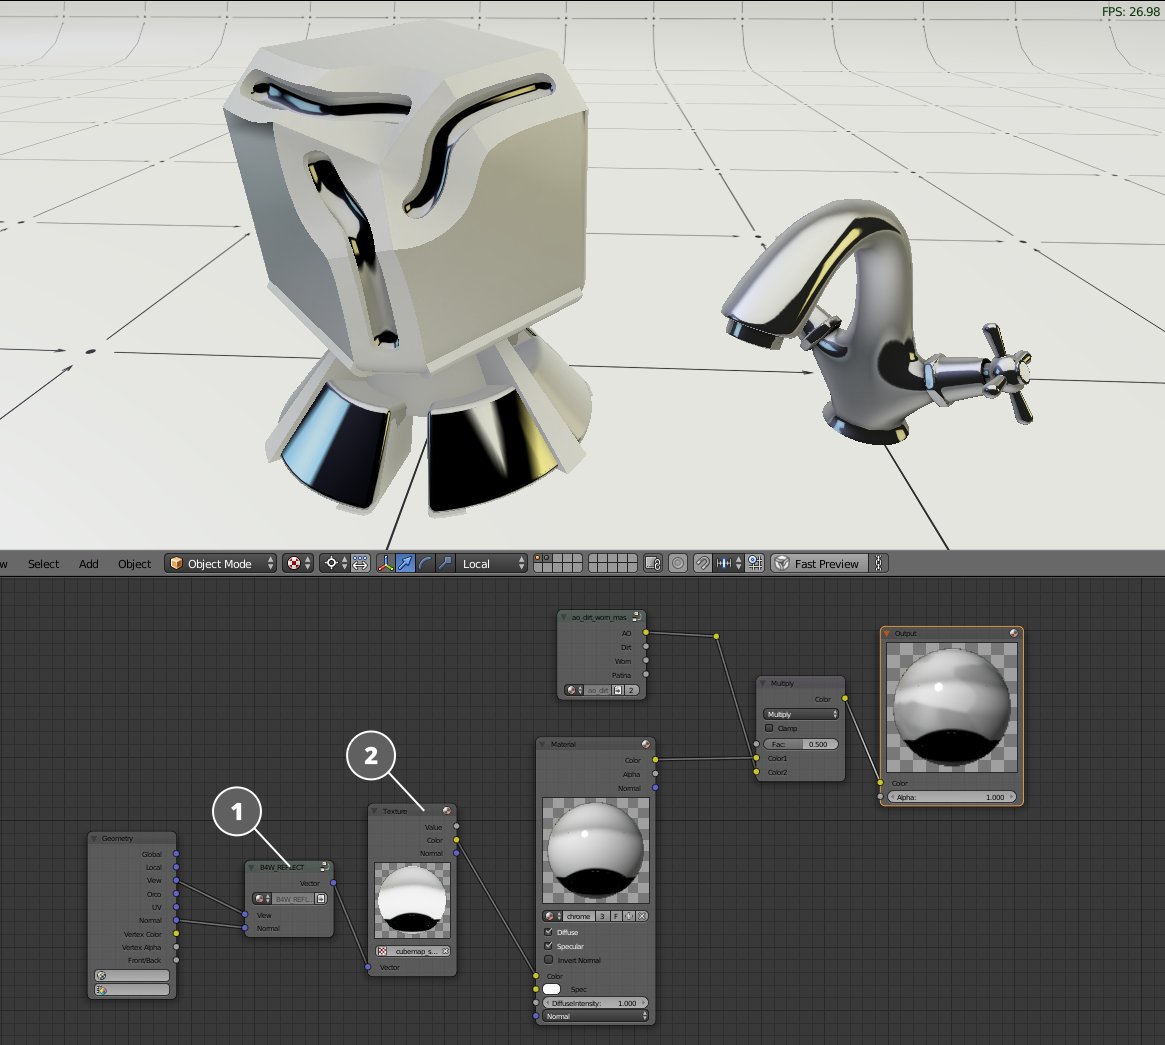
Chrome material with cubemap-based reflection
So, if we now take a look at our chrome material, we should notice that it only uses one cubemap and a special Reflect node that it needs to work correctly.
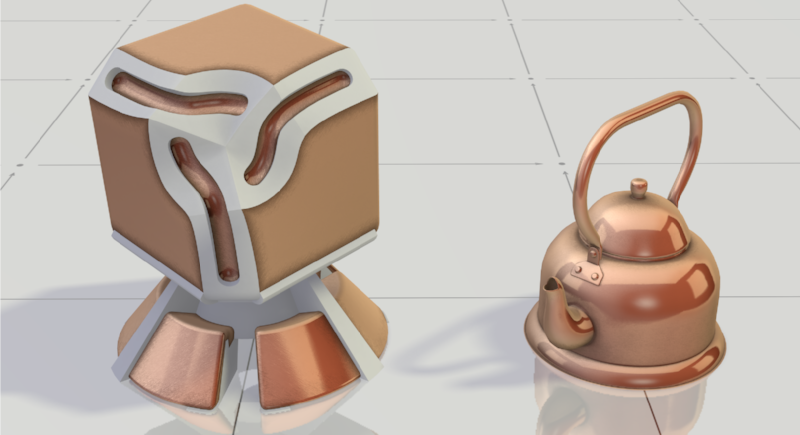
Copper
Now, let’s take a look at a more complex material that uses normal maps as well as cubemaps. This will be copper.
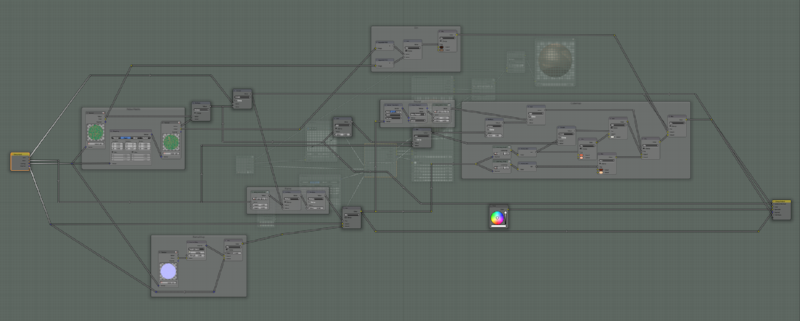
Copper material
The node setup used in the copper material can look rather convoluted, but we don’t have to go through all of its components. The only part that really matters is its core. Everything else only adds some effects like weariness and dirt so the material would look more lifelike.
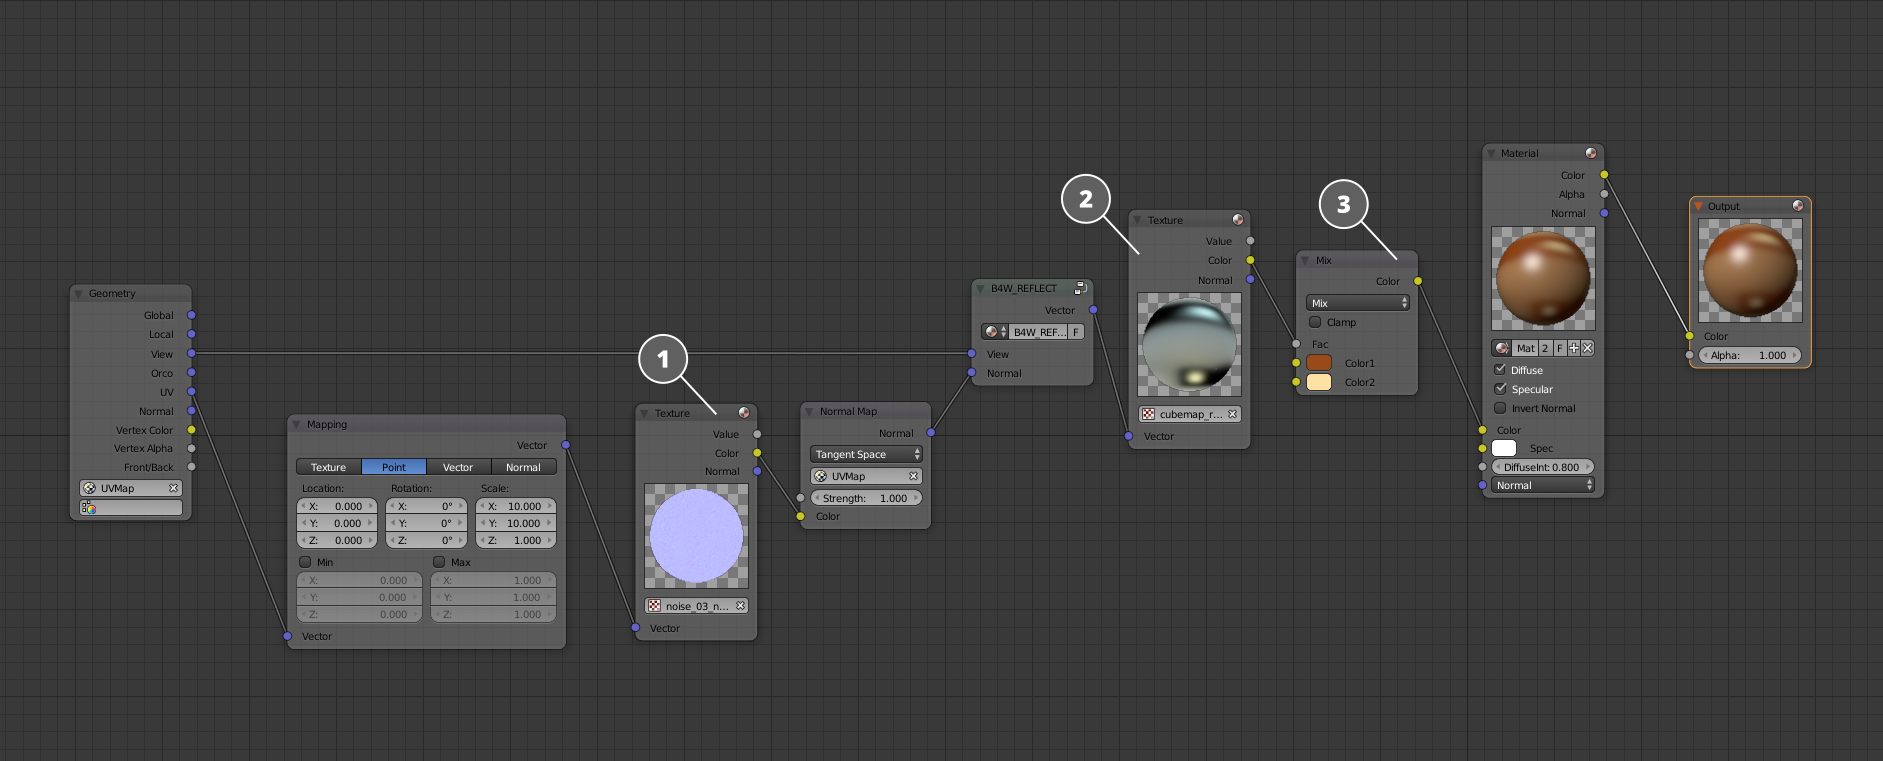
Simplified copper material
Here is the simplified copper material, more suitable for understanding how the core works. Its base is the cubemap (2). Real-life metals reflect almost perfectly, and the reflection is tinted with a certain color. And this is exactly what the core does: the ColorMix (3) node is used to apply the color suitable for this particular metal to the cubemap.
The copper material in the Blend4Web Material Library is roughly polished. To produce this effect, the cubemap should be distorted around small creases and irregularities. So, the Normal input of the Reflect node is connected to the seamless Normal map that is used to imitate rough and uneven grinding.

Normal map is used to imitate irregularities left by rough grinding on the surface of the metal
Now, feel free to watch a video that shows the process of creating a copper material from scratch. It omits some additional effects like dirt or abrasions, but you can use what you have learned from this article to add them yourself.

