Creating an Interactive Web Application
2014-05-08
Blend4Web makes it possible to create both simple and relatively complex interactive rich internet applications. Let's take a look at creating a simple application using the Blend4Web API. In this application we will implement interactions with 3D objects, for example, animating them on mouse click.
Creating a New Application
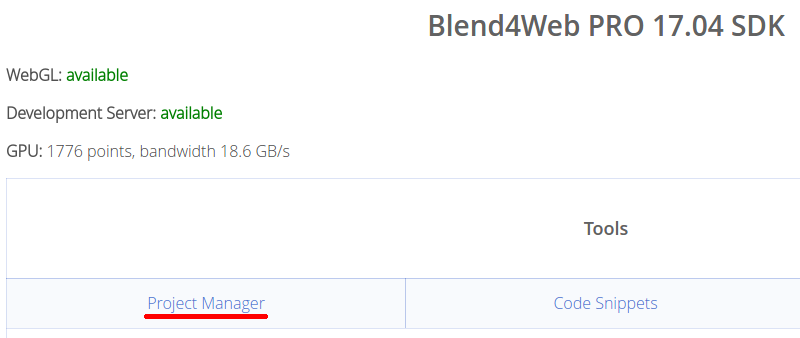
In order to create a new application one can use the Project Manager which is included in the Blend4Web SDK. For this it's required to run Blender (with the add-on installed) first and then visit the main SDK page at the address http://localhost:6687/. The Project Manager will be available there via the following link:
Next we should click the Create New Project button:

Then we need to specify the name for the new project, for example, "simple_app". In case if a project with such name already exists a new name will be requested. In addition, we can specify the application title which will be displayed in the browser, for example, "Interactive Web Application":
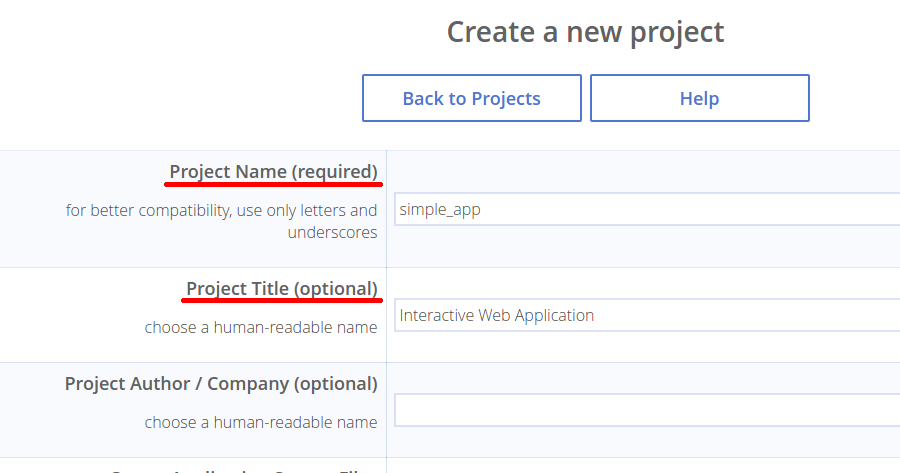
We can leave the other options at their default values. Now there is nothing to do but click the button Create Project at the bottom of this page to create the application. After that we need to wait the completion and click Back to Projects:
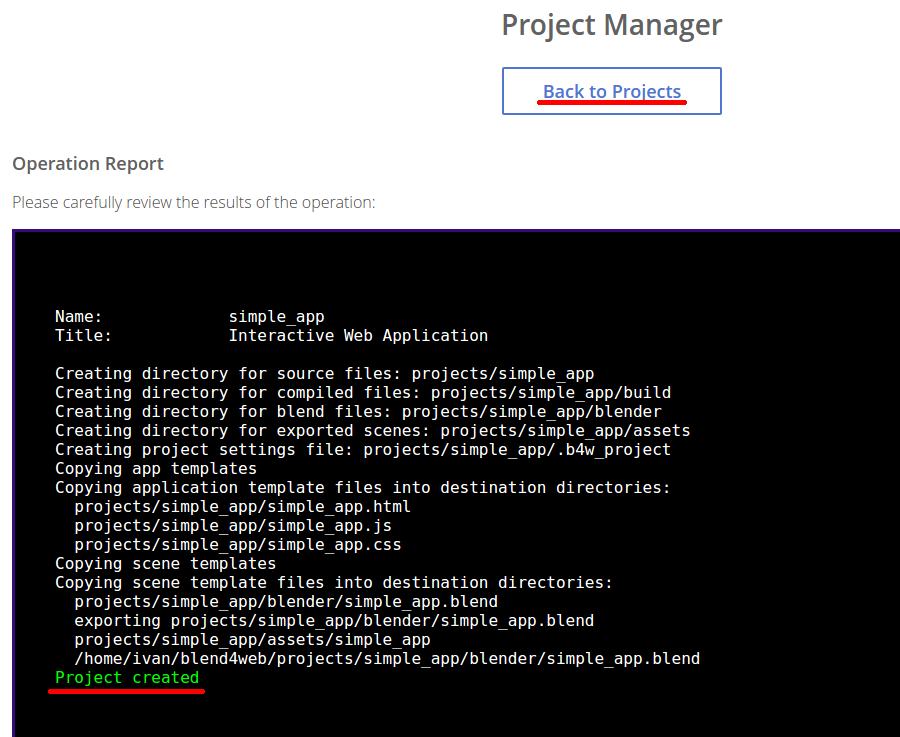
It will return us to the Project Manager page there we can view the application main HTML file by using the corresponding link:
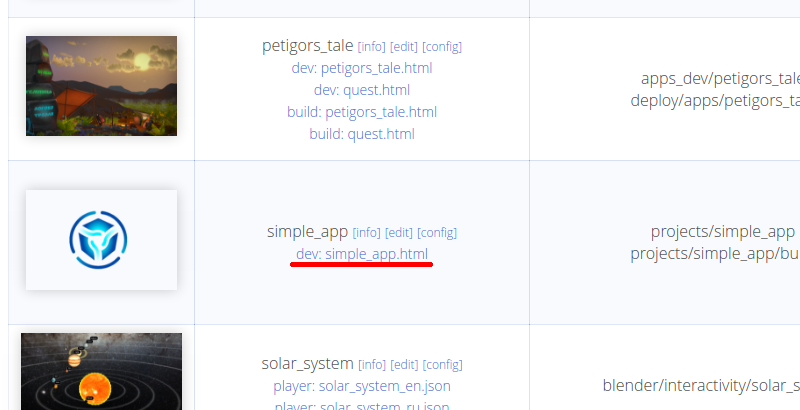
Thereafter, we'll see the base scene with a simple cube:
The new application will be located inside the SDK's ./projects/simple_app/ folder. Now the application bones are ready and we can start creating a 3D scene and writing logic.
Preparing and Exporting the 3D Scene
The blend-file with the basic scene is located in the project directory here: ./projects/simple_app/simple_app.blend. We will open it in Blender and will create a scene with objects, light sources and a camera instead of the default scene.
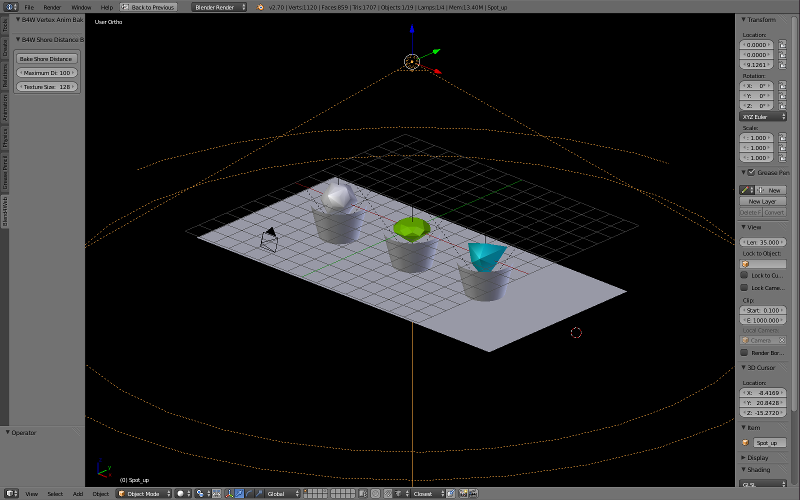
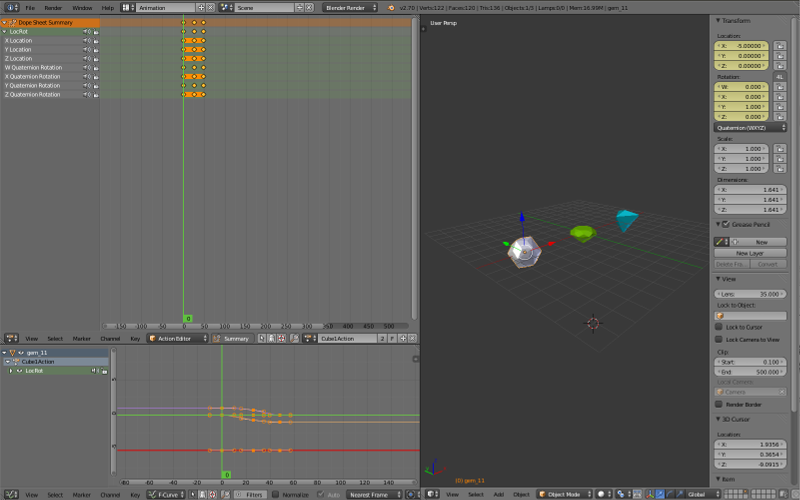
For each of the "interactive" objects we'll make a simple animation of movement, turning (in the XYZ Euler or Quaternion WXYZ mode) and scaling.
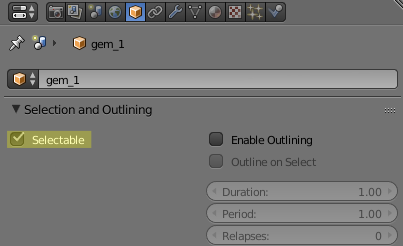
We'll also enable the Selectable checkbox under the Object->Selection and Outlining tab. This will make the objects selectable with a mouse click.
Having set the camera, lighting and the objects' materials to your liking, we'll export the scene using the File -> Export -> Blend4Web (.json) menu option. Export path should be the following: ./projects/simple_app/assets/simple_app.json.
Adding the Functionality
There is the main application JS-file called simple_app.js among the others inside the project directory ./projects/simple_app/. This file contains some template code and it is suitable to implement simple user interaction with the scene's objects.
We need several modules to implement desired functionality:
- animation.js - provides the API for controlling the objects' animation
- container.js - provides methods related to the Canvas-element and to its parent HTML-element
- mouse.js - contains some useful methods related to the mouse
- scenes.js - API for accessing the scene's objects
Let's import them in our code along with the other modules in the beginning of the file:
// import modules used by the app
var m_app       = require("app");
var m_cfg       = require("config");
var m_data      = require("data");
var m_preloader = require("preloader");
var m_ver       = require("version");

var m_anim      = require("animation");
var m_cont      = require("container");
var m_mouse     = require("mouse");
var m_scenes    = require("scenes");
In our example an animation should be played upon clicking an object. We will also cancel the animation for the previously selected object. We will create the "mousedown" event handler at the bottom of the load_cb() function to register mouse clicks on the Canvas element. Also the "touchstart" event handler can be added to register touch screen taps:
function load_cb(data_id, success) {
    ...
    var canvas_elem = m_cont.get_canvas();
    canvas_elem.addEventListener("mousedown", main_canvas_click, false);
    canvas_elem.addEventListener("touchstart", main_canvas_click, false);
}
Then, we need to write the corresponding callback function main_canvas_click():
function main_canvas_click(e) {
    if (e.preventDefault)
        e.preventDefault();

    var x = m_mouse.get_coords_x(e);
    var y = m_mouse.get_coords_y(e);

    var obj = m_scenes.pick_object(x, y);

    if (obj) {
        if (_previous_selected_obj) {
            m_anim.stop(_previous_selected_obj);
            m_anim.set_frame(_previous_selected_obj, 0);
        }
        _previous_selected_obj = obj;

        m_anim.apply_def(obj);
        m_anim.play(obj);
    }
}
The main application logic is contained exactly in this function. In short, the algorithm will be as follows:
1) Get the object under the cursor.
var x = m_mouse.get_coords_x(e);
var y = m_mouse.get_coords_y(e);

var obj = m_scenes.pick_object(x, y);
2) Cancel the animation for the previously selected object.
Stop the animation:
m_anim.stop(_previous_selected_obj);
Set the frame number to zero i.e. return to the original state:
m_anim.set_frame(_previous_selected_obj, 0);
The _previous_selected_obj global variable is used to save the previous object. We should define it somewhere, for example, right after the import of the required modules as follows:
var _previous_selected_obj = null;
3) Apply the animation to the object.
Load and precompute the animation which is assigned to the object in Blender:
m_anim.apply_def(obj);
Animation playback:
m_anim.play(obj);
Let's overview the final application code:
"use strict"

// register the application module
b4w.register("simple_app_main", function(exports, require) {

// import modules used by the app
var m_app       = require("app");
var m_cfg       = require("config");
var m_data      = require("data");
var m_preloader = require("preloader");
var m_ver       = require("version");

var m_anim      = require("animation");
var m_cont      = require("container");
var m_mouse     = require("mouse");
var m_scenes    = require("scenes");

var _previous_selected_obj = null;

// detect application mode
var DEBUG = (m_ver.type() == "DEBUG");

// automatically detect assets path
var APP_ASSETS_PATH = m_cfg.get_assets_path("simple_app");

/**
 * export the method to initialize the app (called at the bottom of this file)
 */
exports.init = function() {
    m_app.init({
        canvas_container_id: "main_canvas_container",
        callback: init_cb,
        show_fps: DEBUG,
        console_verbose: DEBUG,
        autoresize: true
    });
}

/**
 * callback executed when the app is initialized
 */
function init_cb(canvas_elem, success) {

    if (!success) {
        console.log("b4w init failure");
        return;
    }

    m_preloader.create_preloader();

    // ignore right-click on the canvas element
    canvas_elem.oncontextmenu = function(e) {
        e.preventDefault();
        e.stopPropagation();
        return false;
    };

    load();
}

/**
 * load the scene data
 */
function load() {
    m_data.load(APP_ASSETS_PATH + "simple_app.json", load_cb, preloader_cb);
}

/**
 * update the app's preloader
 */
function preloader_cb(percentage) {
    m_preloader.update_preloader(percentage);
}

/**
 * callback executed when the scene data is loaded
 */
function load_cb(data_id, success) {

    if (!success) {
        console.log("b4w load failure");
        return;
    }

    m_app.enable_camera_controls();

    // place your code here
    var canvas_elem = m_cont.get_canvas();
    canvas_elem.addEventListener("mousedown", main_canvas_click, false);
    canvas_elem.addEventListener("touchstart", main_canvas_click, false);
}

function main_canvas_click(e) {
    if (e.preventDefault)
        e.preventDefault();

    var x = m_mouse.get_coords_x(e);
    var y = m_mouse.get_coords_y(e);

    var obj = m_scenes.pick_object(x, y);

    if (obj) {
        if (_previous_selected_obj) {
            m_anim.stop(_previous_selected_obj);
            m_anim.set_frame(_previous_selected_obj, 0);
        }
        _previous_selected_obj = obj;

        m_anim.apply_def(obj);
        m_anim.play(obj);
    }
}


});

// import the app module and start the app by calling the init method
b4w.require("simple_app_main").init();
The web application described in this article is simple but still interactive. This is a minimal example of what is possible with Blend4Web and its API.
The source files of the application and the scene are available in the free Blend4Web SDK distribution at the following location: ./projects/simple_app/.
Link to the standalone application
Changelog
[2014-05-08] Initial release.
[2014-06-30] Refined text about the alpha initialization option.
[2014-07-07] Minor changes in text about the application source files.
[2014-07-22] Path to the application changed.
[2014-08-06] Updated the example code because of picking API change.
[2014-10-29] Updated the article text because of API change.
[2014-11-28] Changes in text about the application source files.
[2015-04-23] Changes in text about the application source files.
[2015-05-08] Updated the article text because of API change.
[2015-09-30] Minor changes in article.
[2015-10-02] Rewrote the article in accordance with the new project management system.
[2017-01-12] Fixed incorrect/broken links.
[2017-04-21] Updated the article text.

